Investing time in capturing stunning images of your restaurant's delectable and signature dishes is essential for boosting interest and interaction with your eatery online. This article includes five simple steps to capturing enticing food and drink images for your restaurant, focusing on background, lighting, composition, and props to showcase culinary excellence.
In this article:
Step #1: Take your time choosing the right background and lighting
When it comes to creating the best food imagery for your restaurant, setting the scene is crucial. Choosing the right background and lighting can make all the difference in showcasing your dishes in the most appealing way. Consider using a neutral background that won't distract from the food itself, such as a simple white or wooden table. Natural lighting is often the best option for capturing the true colours and textures of the food; position your subject near a window or use soft, diffused lighting to avoid harsh shadows.

Step #2: Showcase the details: focus on composition and presentation
Composition and presentation are vital in crafting visually enticing food imagery. Now that you've set the scene, it's time to experiment with various angles to discover the most captivating composition. Embrace getting up close and personal with the food to capture its textures and details, like the juicy burger image above.
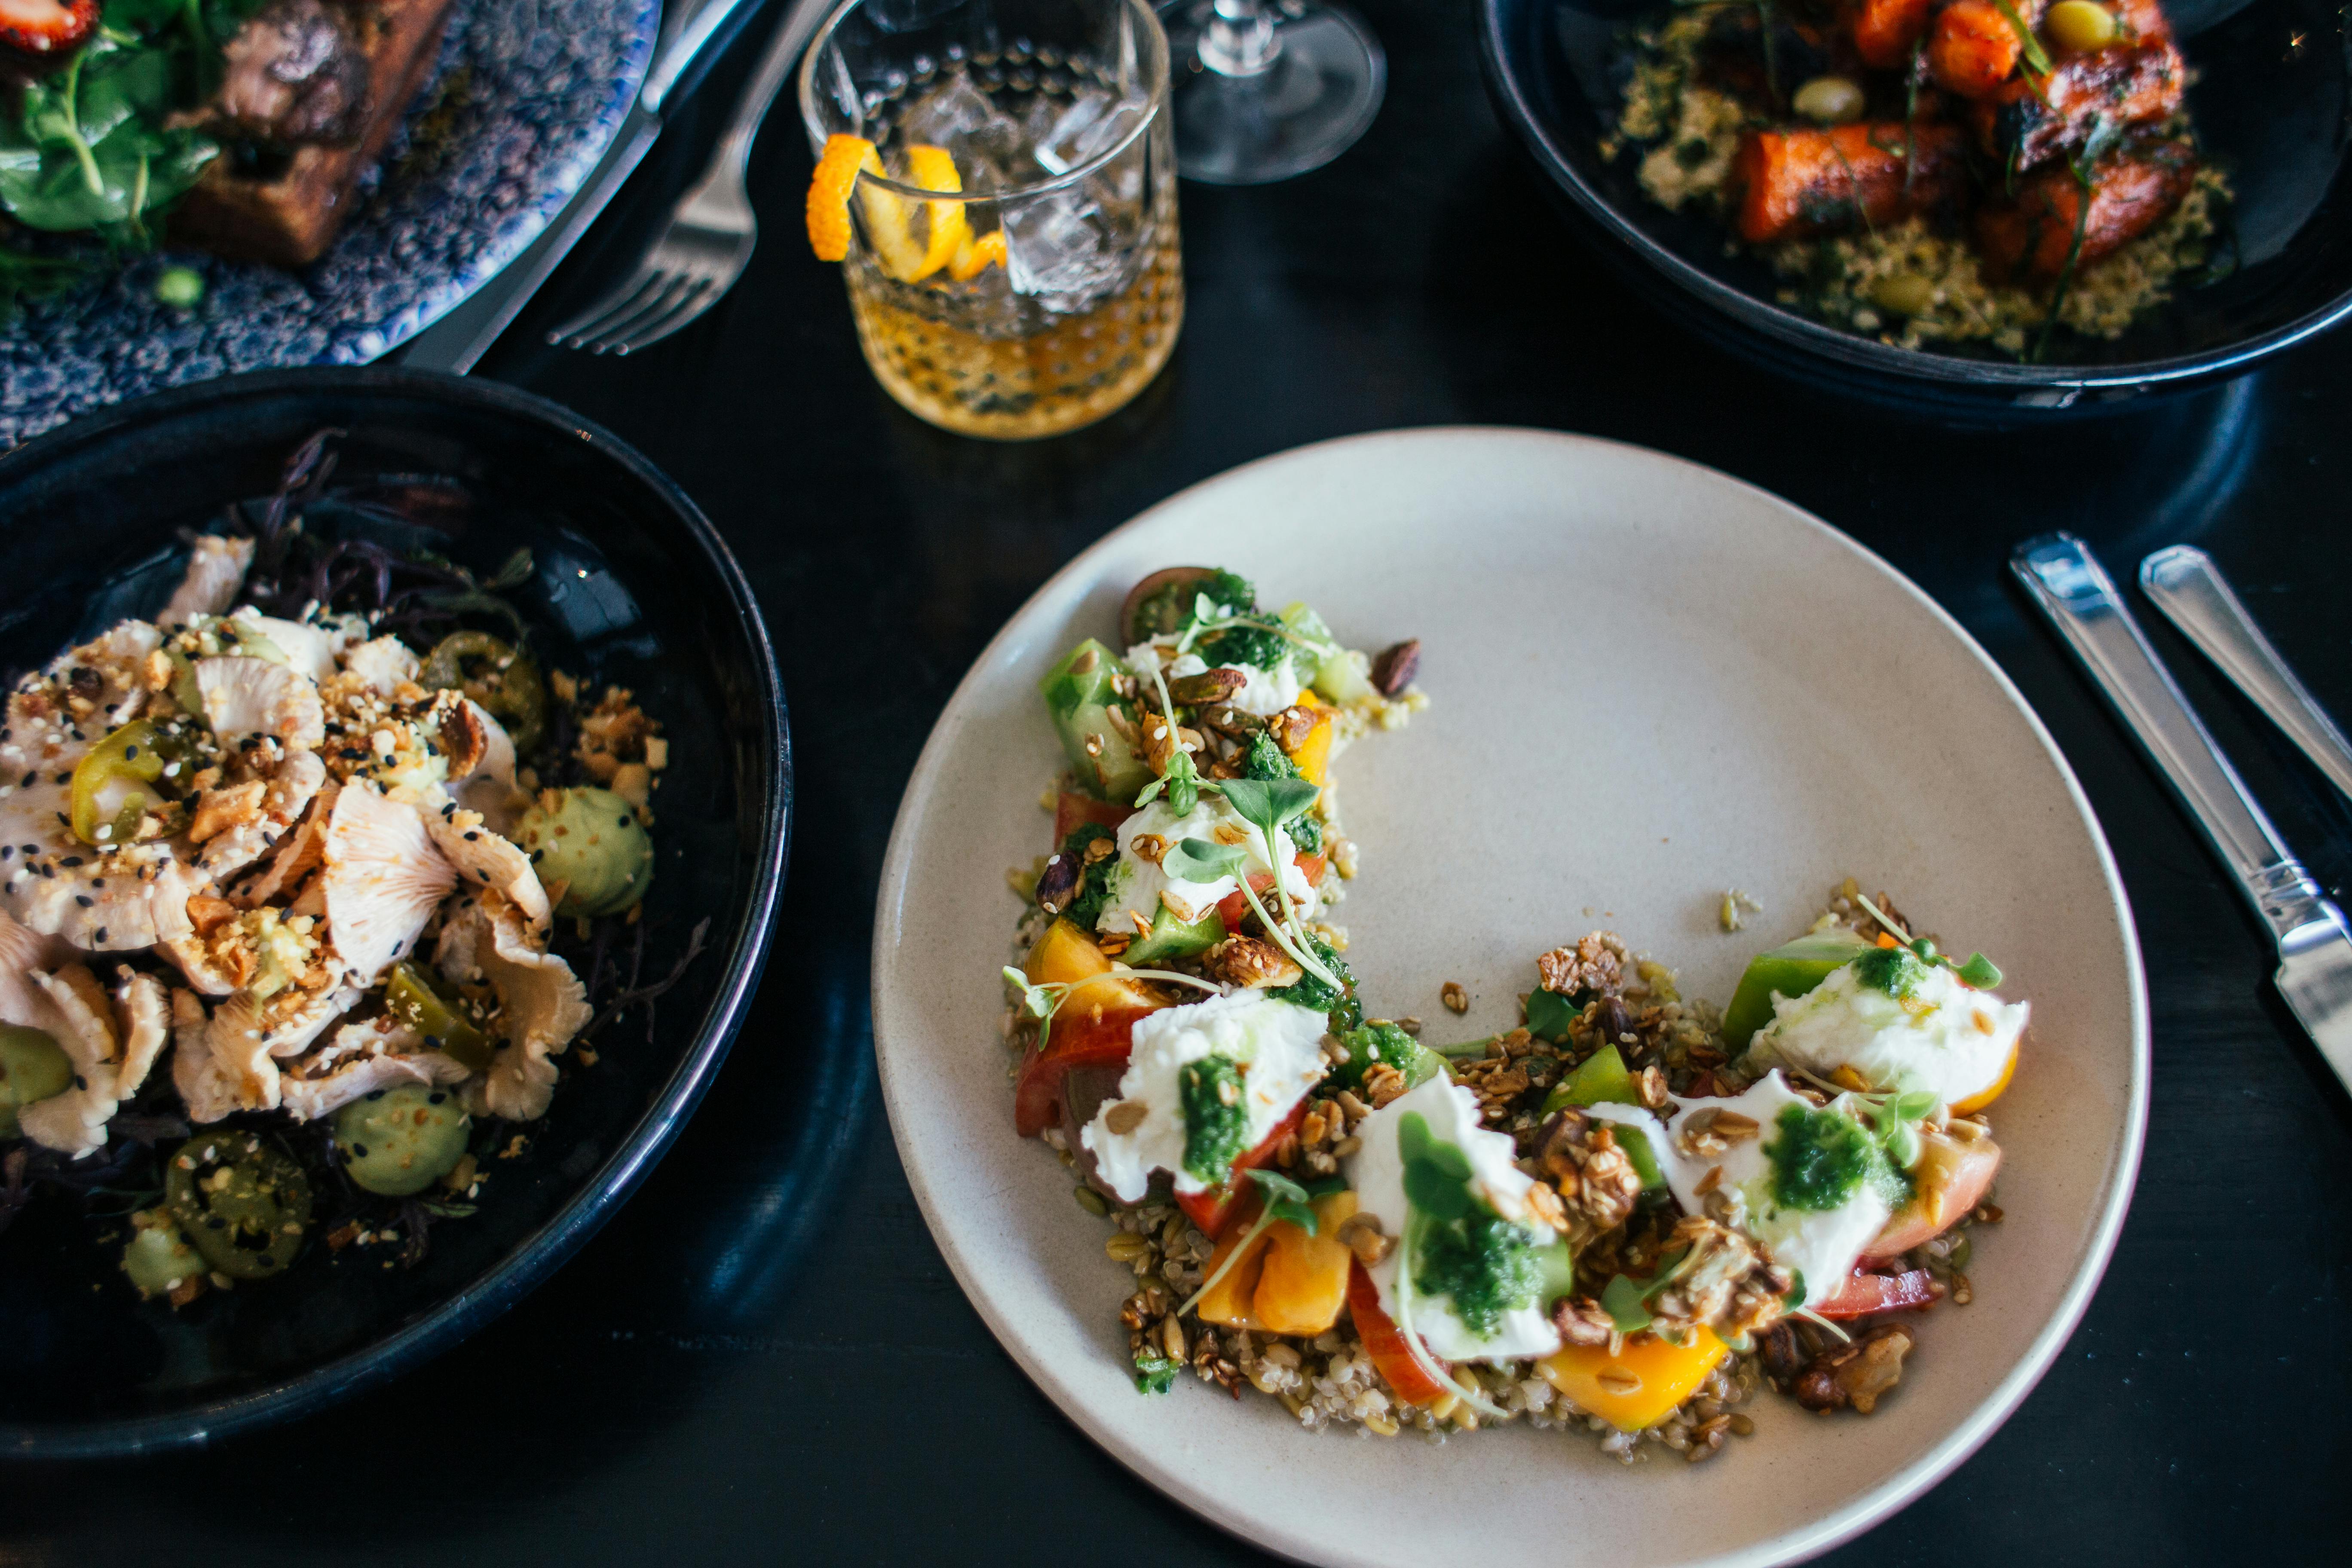
If you'd like to showcase a variety of dishes and drinks in one shot, consider how these complement each other. Have you selected a mixture of colours, sizes, and flavours that accurately reflect the diversity of your menu's offerings?

Step #3: Play with colours and textures to enhance visual appeal
Colours and textures are important elements in food photography that can greatly enhance the visual appeal of your images. Consider using vibrant and contrasting colours to make your dishes stand out. Use fresh ingredients with natural colours to create a sense of freshness and authenticity, like the image picture above.
Textures also play a crucial role in making your food and drink imagery more enticing. Play with the aspects of your dishes that make us crave them the most—for instance, capture the crispness of a salad by adding a subtle splash of water, the effervescence of champagne, focus on the gooeyness of melted cheese, or the flaky layers of a pastry.
Step #4: Utilise props and garnishes to add depth and interest
Props and garnishes can add depth and interest to your food imagery, making it more visually appealing and engaging. Consider using complementary props that enhance your restaurant's overall theme or concept. For example, if you have a rustic Italian restaurant, use wooden boards, olive oil bottles, and fresh herbs as props.
Garnishes can also be crucial in adding that extra touch of visual appeal. Use fresh herbs, edible flowers, or colourful sauces to garnish your dishes and make them look more appetising. However, be mindful not to overdo it and keep the focus on the main dish.

Step #5: Editing and enhancing your food imagery
Once you have captured your food imagery, it's time to edit and enhance it to perfection. Use photo editing software to adjust the brightness, contrast, and saturation to make the food's colours pop. Crop the image to remove any distractions and focus on the main subject.
Consider adding a subtle vignette or blur effect to draw the viewer's attention to the food. Experiment with different filters and effects to create a unique and cohesive visual style for your restaurant's food imagery. Keep your editing style consistent across all your food imagery to maintain a cohesive and professional look.
At First Table, we notice restaurant listings with great imagery see significantly greater results. Access the information pack below to discover how we leverage our restaurant partners' imagery to drive growth for their businesses.


